- Skip to primary navigation
- Skip to main content
- Skip to primary sidebar

- FREE Experiments
- Kitchen Science
- Climate Change
- Egg Experiments
- Fairy Tale Science
- Edible Science
- Human Health
- Inspirational Women
- Forces and Motion
- Science Fair Projects
- STEM Challenges
- Science Sparks Books
- Contact Science Sparks
- Science Resources for Home and School

How to make a Bottle Rocket
August 15, 2018 By Emma Vanstone 35 Comments
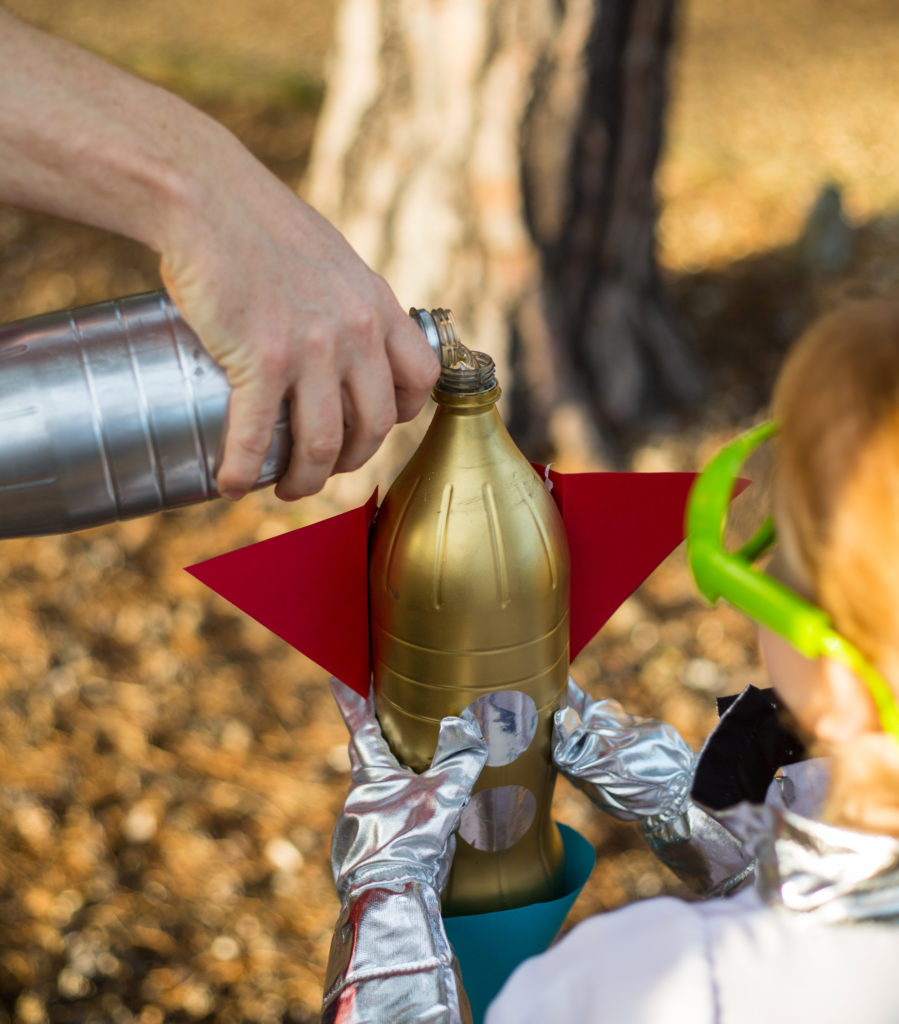
Did you know you can make and launch a water bottle rocket using just a plastic bottle, water, cork, needle adaptor and pump?
How do water bottle rockets work?
As you pump air into the bottle the pressure inside the bottle builds up until the force of the air pushing on the water is enough to force the cork out of the end of the bottle. The water rushes out of the bottle in one direction whilst the bottle pushes back in the other. This results in the bottle shooting upwards.
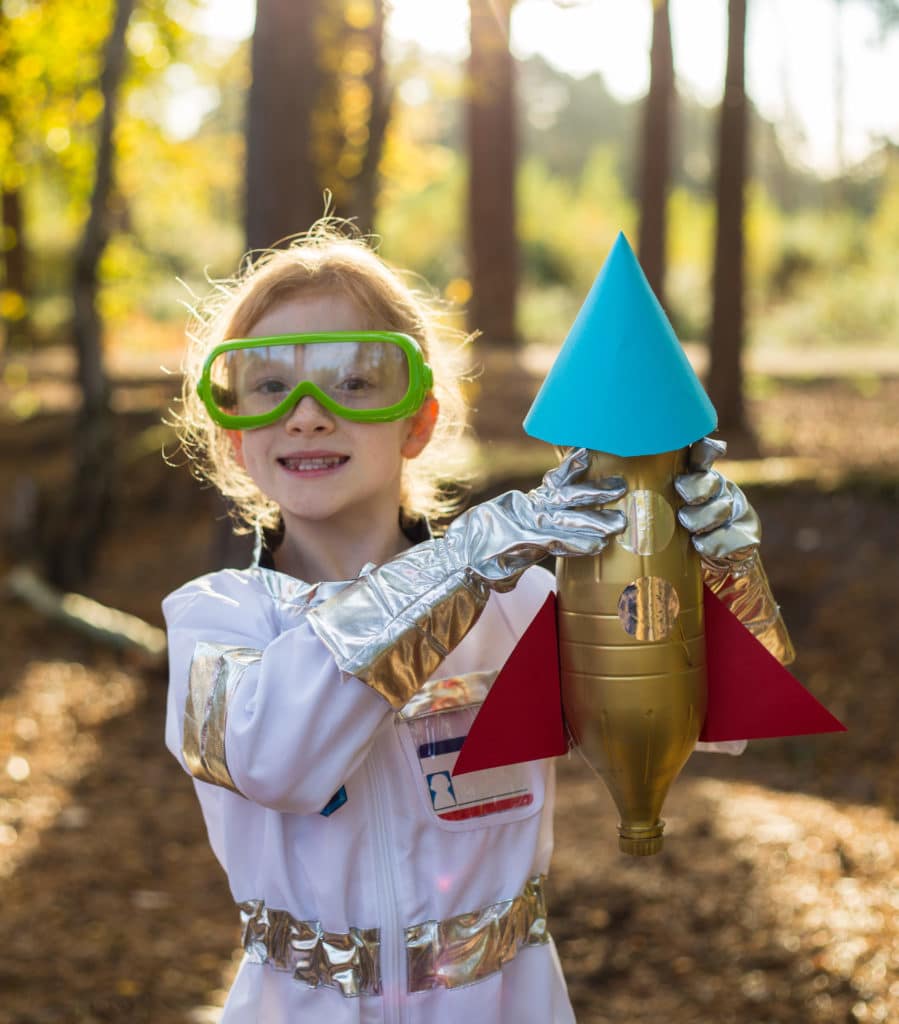
What you need to make a bottle rocket
- an empty plastic bottle
- cardboard made into a cone and 4 fins
- a pump with a needle adaptor
You can buy a kit with the parts except from from the pump and the bottle – please check the contents before buying
UK: https://amzn.to/2MBJuqj
US: https://amzn.to/2MBdfaS
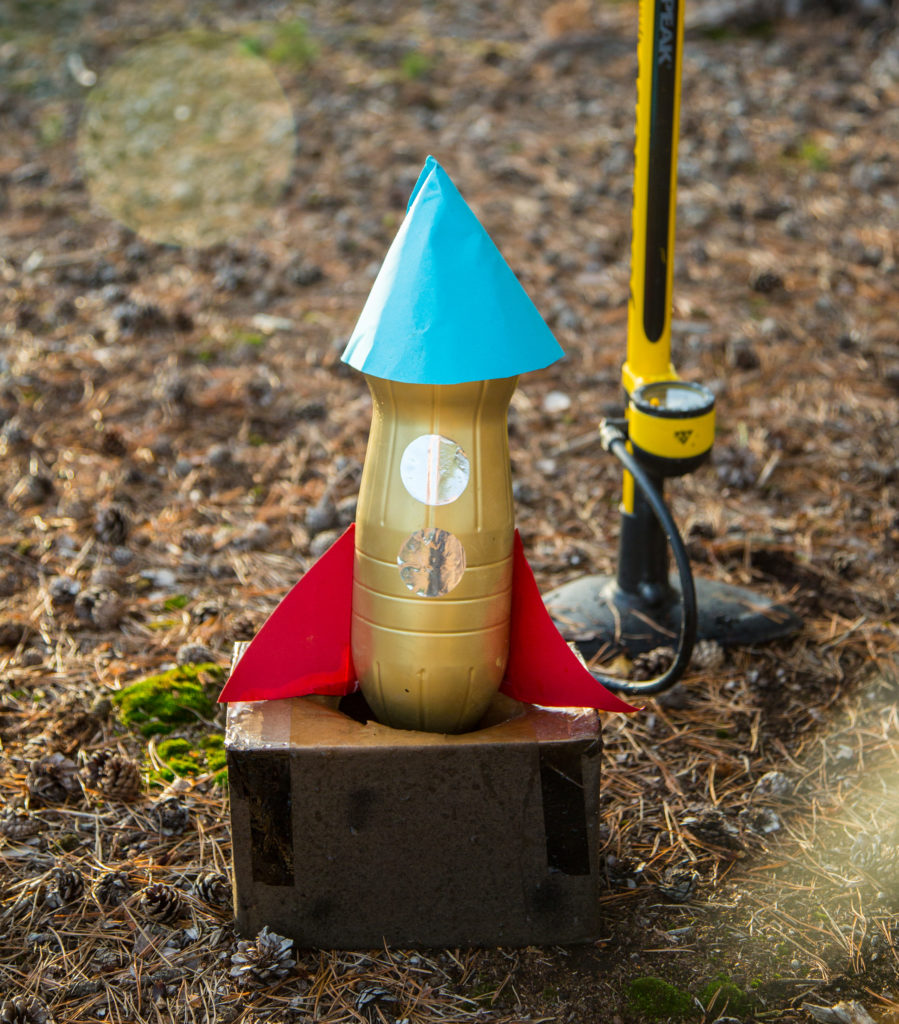
Instructions – how to make a bottle rocket
- Push the needle adaptor of the pump through the cork, it needs to go all the way through so you might have to trim the cork a little bit.
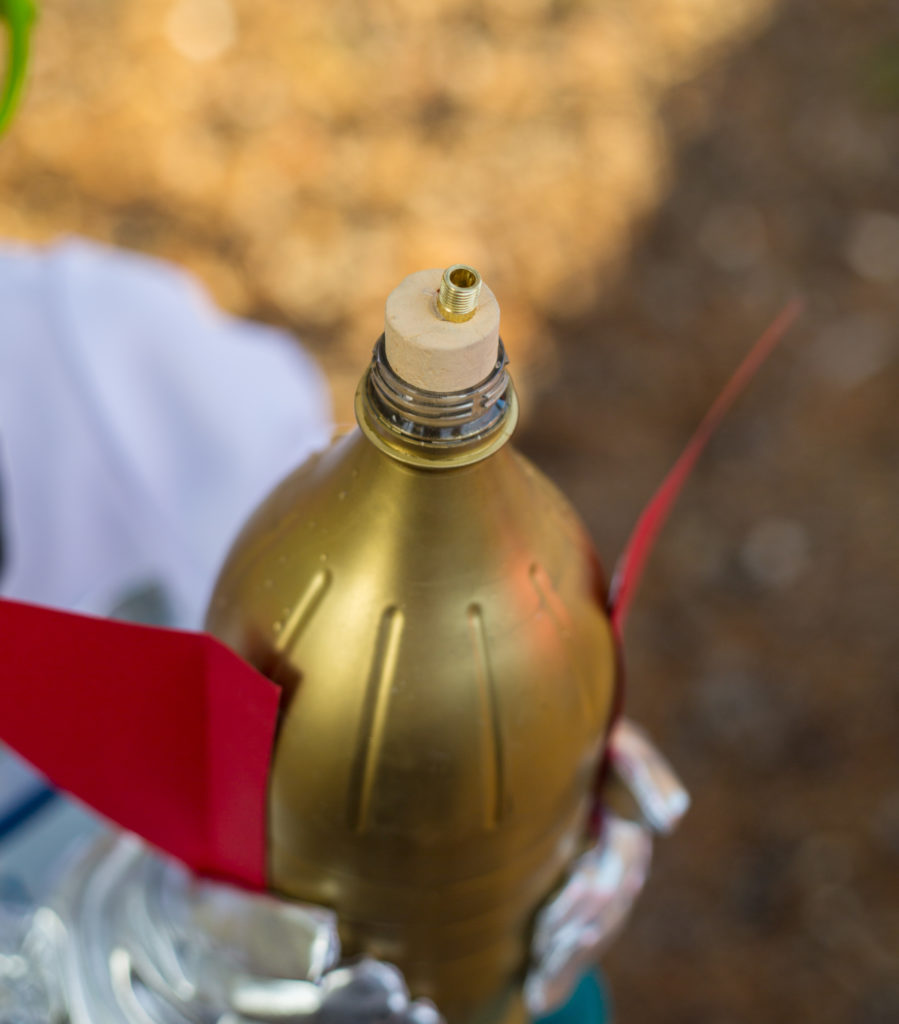
- Decorate the bottle with the cone and fins.
- Fill the bottle one-quarter full of water and push the cork in tightly.
- Take the bottle outside and connect the pump to the needle adaptor. Ours wouldn’t stand up on the fins so we rested it on a box, but if you make some strong fins it should stand up by itself.
- Pump air into the bottle, making sure all spectators stand back, the bottle will lift off with force after a few seconds.
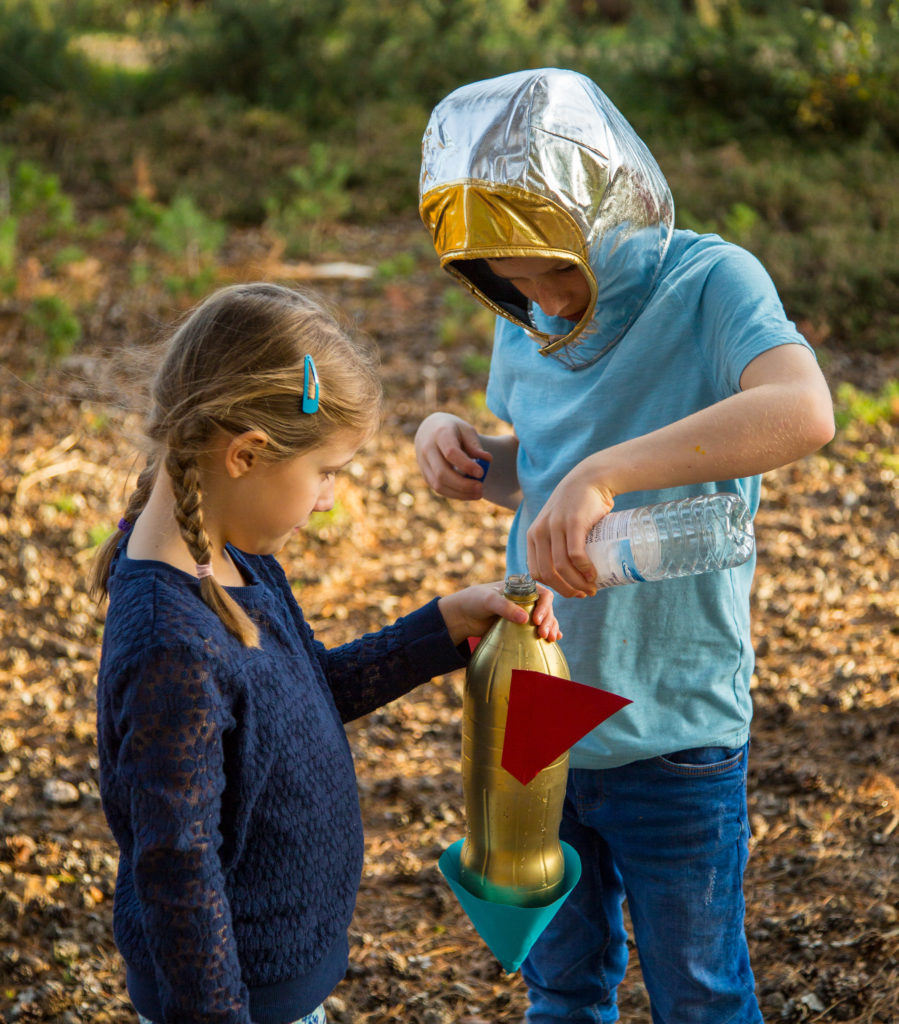
Please make sure an adult is around as the rocket takes off very suddenly and forcefully as you can see in this video clip. Do not approach the rocket once you have started pumping even if it looks like nothing is happening.
Why does the water bottle rocket launch?
As you pump air into the bottle pressure builds up inside. If you keep pumping, the force of the air pushing on the water eventually becomes strong enough to force the cork out of the bottle allowing water to rush out in one direction while the bottle pushes back in the other direction. This forces the rocket upwards.
Space rockets work in a similar way to the bottle, but instead of squirting water, they burn fuel to make a powerful jet of hot gas. The force of the gas downwards pushes the rocket upwards. This is a great demonstration of Newton’s Third Law.
What is Newton’s Third Law?
Newton’s Third Law says:
‘for every action there is an equal and opposite reaction’
Who was Issac Newton?
Issac Newton was an English scientist most famous for his theory of gravity, but he also worked out three laws of motion to describe how objects move. You can find out more about the Three Laws of Motion in my book, This Is Rocket Science which has lots of activities to demonstrate all three laws based around rockets and space.
More Rocket Experiments
Find out how to make a rocket mouse
Make a film canister rocket
Try one of these other easy air pressure experiment s , including making a fake lung, a barometer and a coin popper!
Can you show a friend how to make a bottle rocket?
This Is Rocket Science – Space Experiments for Kids
For more fun rocket science activities check out our new book This Is Rocket Science

Affiliate links
Images taken from This Is Rocket Science
Last Updated on May 11, 2023 by Emma Vanstone
Safety Notice
Science Sparks ( Wild Sparks Enterprises Ltd ) are not liable for the actions of activity of any person who uses the information in this resource or in any of the suggested further resources. Science Sparks assume no liability with regard to injuries or damage to property that may occur as a result of using the information and carrying out the practical activities contained in this resource or in any of the suggested further resources.
These activities are designed to be carried out by children working with a parent, guardian or other appropriate adult. The adult involved is fully responsible for ensuring that the activities are carried out safely.
Reader Interactions
August 22, 2011 at 10:13 am
What a lovely project! We’ll give it a go too, thanks for sharing:)
August 23, 2011 at 11:23 pm
Oh WOW Emma and Kerry this is AWESOME!!! We will definitely be trying this amazing experiment out …. all for the children’s benefit of course (cough, cough). Donna 🙂 🙂
August 25, 2011 at 6:47 pm
I love stuff like this. My 7-year-old is our little scientist around here, and he is going to love this project!
August 25, 2011 at 7:12 pm
It was brilliant! I’m so glad you liked it. 🙂
Thank you. We are very excited by it, and can’t wait to add to our growing collection of experiments!
August 28, 2011 at 11:19 pm
Water rockets are soooo much fun, but just a little scary 🙂
August 30, 2011 at 12:42 pm
It was quite scary! We were lucky it didn’t go out of the garden! x
August 29, 2011 at 1:28 am
yay, this is fabulous – how fun & educational! Thanks for sharing on the Sunday Showcase!
August 29, 2011 at 3:24 am
That looks awesome. I learned the hard way not to go near projects like that after I did……. That was an unpleasant chemical burn and took a few days to stop stinging.
I’ll have to see if we have a hand pump anywhere.
ouch, sounds painful! The rocket was fantastic though.
March 12, 2012 at 12:58 pm
The little blue cone makes the rocket look so much more exciting!!!
This is a great experiment that I think any kid would enjoy! Thanks for sharing with Learning Laboratory at Mama Smiles 🙂
March 12, 2012 at 5:35 pm
We used to do this…so fun!
March 13, 2012 at 12:31 pm
its great and so easy!
March 13, 2012 at 11:30 am
WHAT FUN! My kids will love this.
Thank you, my children thought it was fantastic
March 14, 2012 at 6:37 pm
Love love love this experiment! Such fun! And love the Science Sparks look!
Thank you for sharing on Kids Get Crafty! Great to see you there!
Maggy & Alissa
March 14, 2012 at 10:48 pm
This looks so much fun I can remember making them with my physics class. J would also love it. I love the new look to science sparks.
Thank you for linking up to Tuesday Tots
March 23, 2012 at 7:55 pm
This is so cool. I can’t wait to try this with my kids!
March 24, 2012 at 9:57 pm
We loved it!
July 23, 2012 at 6:49 am
oh no. what happened?
April 05, 2013 at 2:43 am
WOAH! Look at that rocket go! Love this! I’ll be featuring this post as part of my Earth Day Activities for Kids: Upcycling roundup from the Weekly Kids Co-Op. xoxo P
April 05, 2013 at 9:42 pm
oh wow, thank you.
May 20, 2013 at 11:38 am
Found this through the parent pin it party and love it we must try this
May 21, 2015 at 4:19 pm
There is a little air leaking out when flip the bottle over. Is there a certain cork or needle I can use? Right as the bottle fills up with air it starts to leak. any advice would be appreciated.
July 28, 2015 at 10:30 pm
Hi–what a fun craft! Would this work with different sized plastic bottles–such as a 16oz plastic soda bottle? Thanks!
May 27, 2016 at 4:18 am
This is a awesome experiment…
July 15, 2016 at 10:49 pm
What size cork would be best to use for this project?
November 06, 2016 at 8:38 am
Not Very Good
February 07, 2017 at 2:26 am
I haven’t tryed it yet but I bet it will be cool
May 19, 2017 at 7:38 pm
bottle rocket?
July 24, 2017 at 6:30 pm
Hello admin, do you monetize your website ? There is easy way to earn extra money every month, just search on youtube : How to earn $25/hour selling articles
May 01, 2018 at 5:29 pm
December 12, 2019 at 3:44 pm
Great work on engineering ,I will attempt the Rocket with my science club when schools open in January 2020.
Leave a Reply Cancel reply
Your email address will not be published. Required fields are marked *

Drip Drop Bottle-Water Bottle Pressure Experiment
- November 22, 2020
- 10 Minute Science , 7-9 Year Olds , Physics , Rainy Day Science
Are you aware of magic water bottle? We are going to perform a very simple ‘Drip Drop Water Bottle Pressure Experiment’, which helps us to make the ‘Magic Water Bottle’.
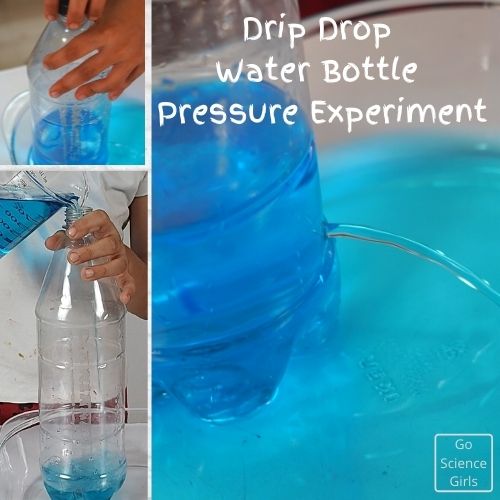
This science activity helps us to experience the magical properties of air pressure and force.
What Exactly Happens in the Drip Drop Bottle Experiment
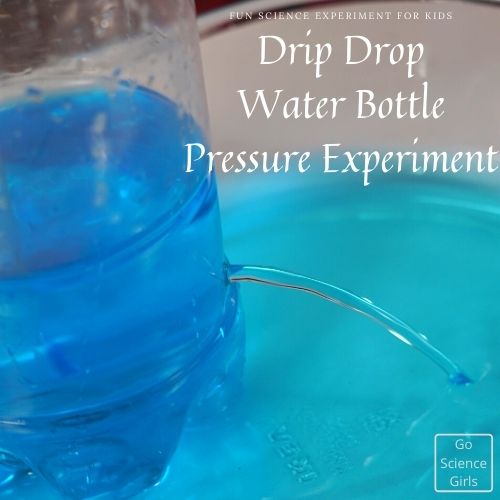
Objective: To create magic bottle and learn about the basic properties of Air-Pressure, Vacuum, Force, etc.
Time Required: Just takes 5 minutes-10 minutes
Safety Measures: As we are not using any toxic supplies or chemicals, the experiment is completely safe to investigate with children. But just be careful while drilling the hole on the bottle.
Materials Required
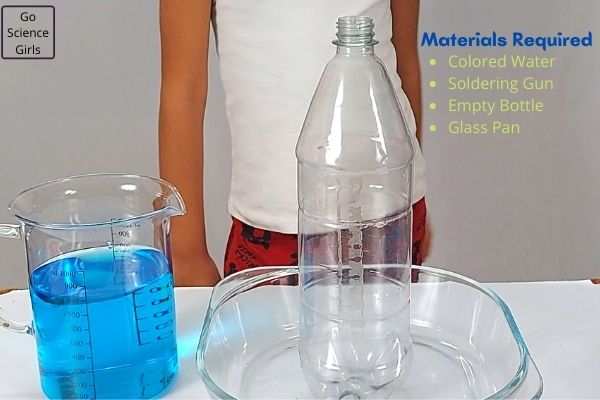
- An emptied plastic water bottle with a tight fitted cap (You can use either 2 litre or 1 litre water bottle)
- Food Coloring (we chose to use blue color)
- A glass jar
- A big enough glass Bowl or Pan
- Soldering Iron tool (In order to make holes)
Steps to Perform
Have a look at the simple step-by-step instructions in detail.
Step-1: Pick up a water bottle and Clean
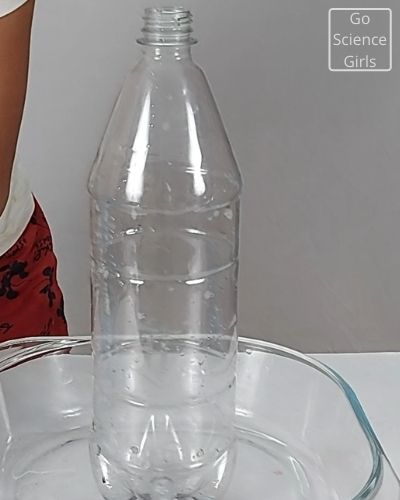
Pick a regular plastic water bottle of your choice and clean it thoroughly. If you are using the new one, then please empty the bottle, before you start the experiment.
Make sure the bottle using for experiment is transparent, clean and tightly fitted by its cap. In this experiment, we chose 2 litre water bottle.
Step-2: Put a hole to the Bottle
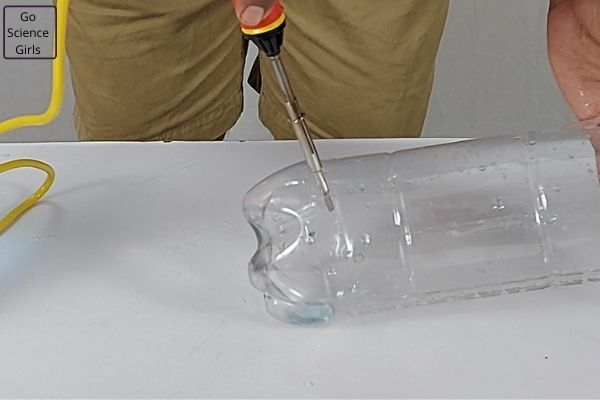
Use a soldering iron or a simple nail to put a small hole just an inch above the base of the bottle using it.
I recommend parents or guardians to help your children during this step.
Take extra care while making a hole.
As the plastic is profuse, it is a good idea to push the pointed end of soldering iron thoroughly and slowly. You can even use a hammer to tap and push more easily.
Step-3: Mix food coloring to the water
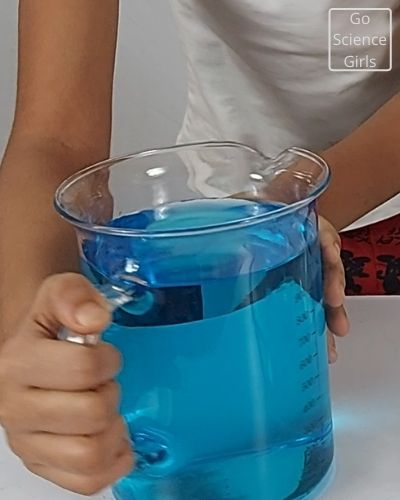
Take required amount of water in a glass jar and mix a little amount of food color to the water taken.
Now, you are ready with color water. Why color water? Because, using color water makes it easier for the children to observe the magical outcomes of the experiment.
Even the purpose of using the glass jars is also for the same reason.
Step-4: Fill the bottle with Color Water
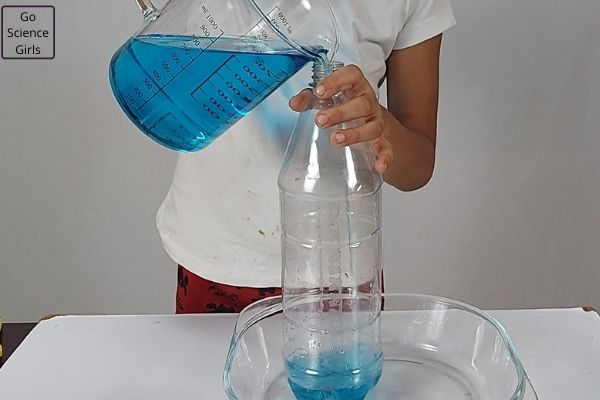
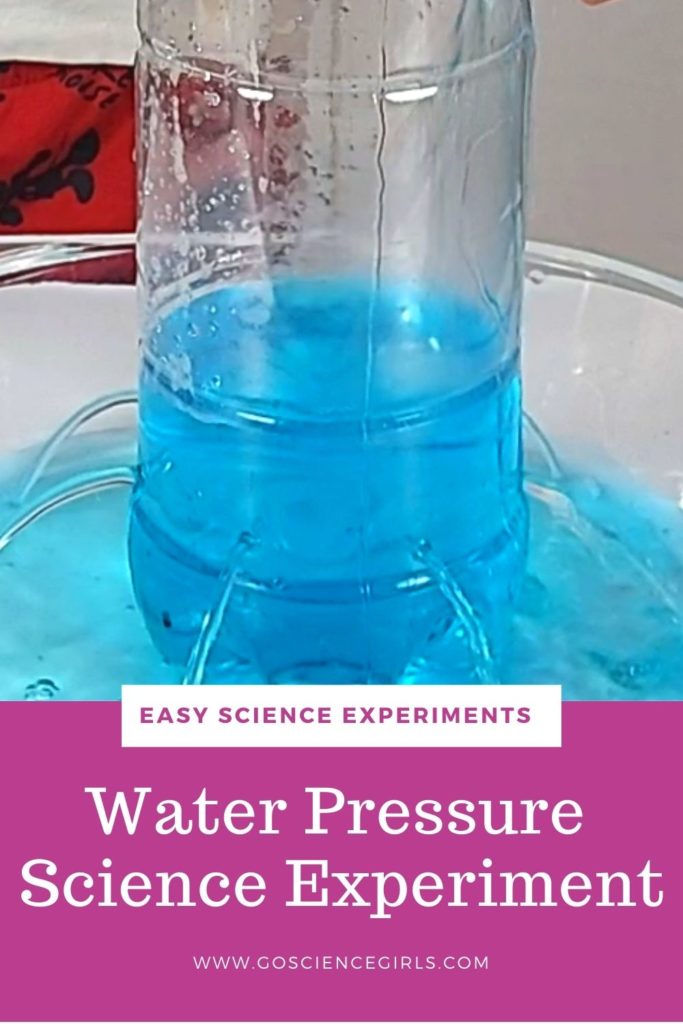
Cover the hole of the bottle using a tape or just simply using fingers. Now place the bottle in a wide mouthed glass pan or bowl in a standing position. Then, pour the color water into the bottle until the top line.
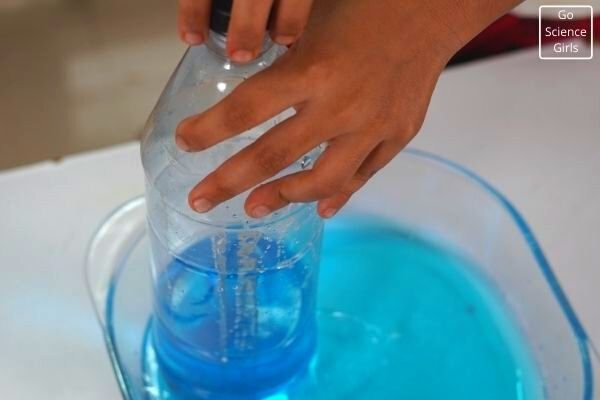
Step-5: Now release the covered Hole
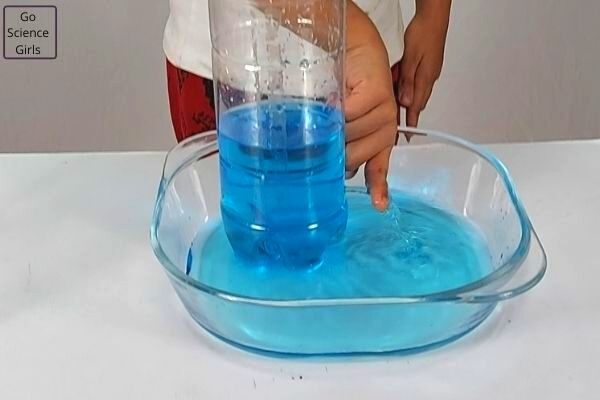
Once you fill the bottle with color water, just take off the fingers or tape on the hole. And observe what happens.
Obviously, water starts leaking from the hole. Here is our magic trick lies.
Now take the bottle cap and tighten it to its brim of the bottle. Amazingly, the leakage of water from the hole at the bottom stops.
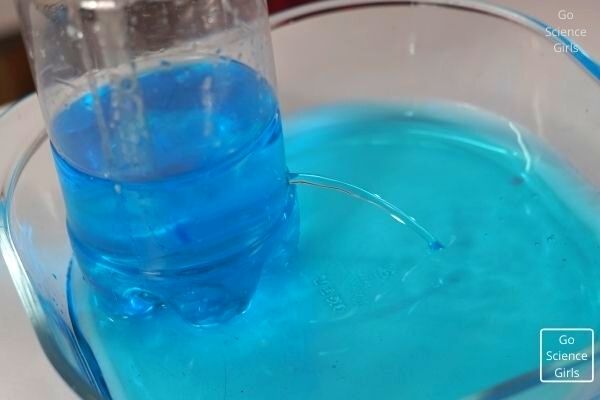
Step-6: Try to keep Multiple Holes to the bottle
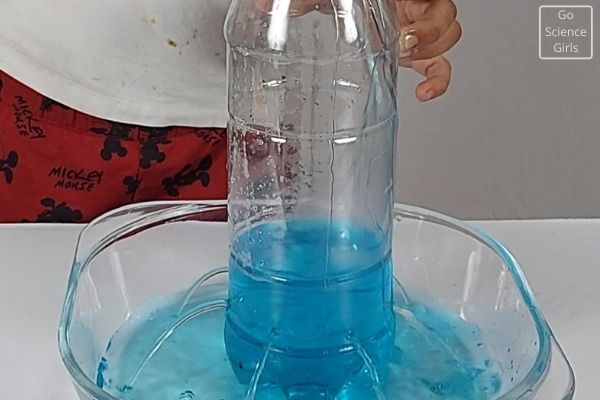
To extend the activity, make multiple holes to the bottle about an inch height above the base level.
And then try the same steps 4 & 5 and observe the results. Even the multiple punctured bottle stops the leaking water through the holes when the bottle is tightened with its cap.
If you loosen the cap, the water starts leaking again.
Believe me, it would be a great water play for children while learning science concepts in a fun way.
Before you start the experiment, write in big letters on the bottle saying ‘Do Not Open the Bottle’. And then keep it aside on the table where kids play.
Generally, kids are naturally curious to do things which are not supposed to do or warned not to do.
So, kids who are passing by, one or another wish to open and learn why it should not be opened.
Then, as soon as the person open the cap of the bottle the water starts coming out through the hole and makes the person wet.
This is how we can use this simple science activity as a prank.
So, let us learn the science involved in this fascinating science activity.
Questions to Ask Children During and After the Experiment
Asking questions is the best way to improve child’s concentration and they even show much interest while performing experiments.
Here we go the questions that we can ask during and after this experiment.
Q.1: Why does the water stop leaking when you cover the hole with tape or thumb finger?
Q.2: What is the reason behind the bottle cap stopping the water leakage?
Q.3: Does gravity have any role in leaking the water through the hole?
Q.4: Does gravity shows any impact on stopping the water leakage?
Q.5: Are there any other forces acting on the water to push it out of the bottle through the hole?
Q.6: What is the role of air and its pressure during the experiment?
Q.7: Is the bottle actually unoccupied?
First, let your children guess and report their own answers. Later check whether they guessed correctly or not.
If your child is not correct, tell him/her the science behind it and get them scientifically knowledgeable.
Science behind the Drip Drop Experiment
As soon as the water inside the bottle is let go out of it, the air molecules occupy the vacuum inside the bottle.
We cannot see the air molecules occupying the vacuum of the bottle because air is invisible.
Hence, this proves that bottle is not vacant even though there is nothing inside. When the bottle is poured with color water, the water molecules pushes the air molecules out of the bottle through its mouth.

Avogadro’s Law
This is explained in detail through Avogadro’s law. Modern Avogadro’s law states that “ equivalent number of gas molecules occupy the equivalent number of other molecules under equivalent temperature and pressure situations ”.
In simple words, according to earlier Avogadro’s law: a gas law that establishes the relation between capacity (volume) and the quantity of gas.
Finally, it states that at constant temperature and pressure conditions, the volume of the gas is directly proportional to the quantity of the gas.
Coming to the experiment, when there is puncture on the bottle, the high pressured water flows outside, where there is less pressure.
And when the puncture and water filled bottle is tightened using a cap, there develops an equal pressure inside and outside the bottle. The presence of air pressure inside and outside the bottle stops the water leakage through the hole.
Thus, holding the water leakage magically. Eventually, when the cap is loosened, there is difference in air pressures built inside and outside the bottle.
And hence, the water inside the bottle where high pressure is present flows outside where there is low pressure. The high pressure inside the bottle is due to the water weight.
Extend the Experiment Further
1) Try to take two bottles and gives different number of holes on each bottle. And then check whether there is same result with both the bottles.
2) Make bigger size holes and check the results.
3) Make holes at different areas on the bottle and observe the changes if any.
The water filled plastic bottle with two holes at different heights leak water in two different ways. That means, the hole at the lowest point experience high pressure and leak water at high pressure. Whereas the hole on the plastic bottle at highest point experience low pressure and leak water at low pressure.
The flow velocity of water leakage varies absolutely on the size of the hole. If the size of the hole is smaller, it leaks water slowly and is time-consuming to leak out all the water from the bottle. While the large sized hole leaks out water quickly with high energy.
Ice has a special property of expanding when it gets freeze. The same thing we can see when we freeze the well stoppered bottle full of water if left in a deep freezer overnight. Because as the bottle is full of liquid and when this liquid gets freeze, the ice formation happens. The ice formed expands while freezing and pushes the stopper outside forcefully or else break the bottle.
The empty bottle when kept in the freezer starts slowly disintegrating until the temperature conditions inside the bottle is same as the neighbouring air temperature conditions.
The force of expanding ice while freezing is tougher than any other forces. So, when you freeze water bottles, the plastic bottles release various chemical substances which may cause cancer risk eventually. On the other hand, if you fill the bottle completely up to the brim, the water exerts stronger force while freezing and breaks the bottle inside the freezer.
Leave a Reply Cancel Reply
Your email address will not be published. Required fields are marked *
Name *
Email *
Add Comment *
Save my name, email, and website in this browser for the next time I comment.
Post Comment
Playing With Rain
Explore the World Around You
in Instagram Feed · Kids Science Experiments · Weather Science
Water Bottle With Holes Experiment
Share with your friends!
This super cool and easy experiment can be used as a fun and educational air pressure demonstration, or a funny prank on your friends! It’s time to have some fun with this Water Bottle With Holes Experiment.
Get more fun and easy Plastic Bottle Experiments here!
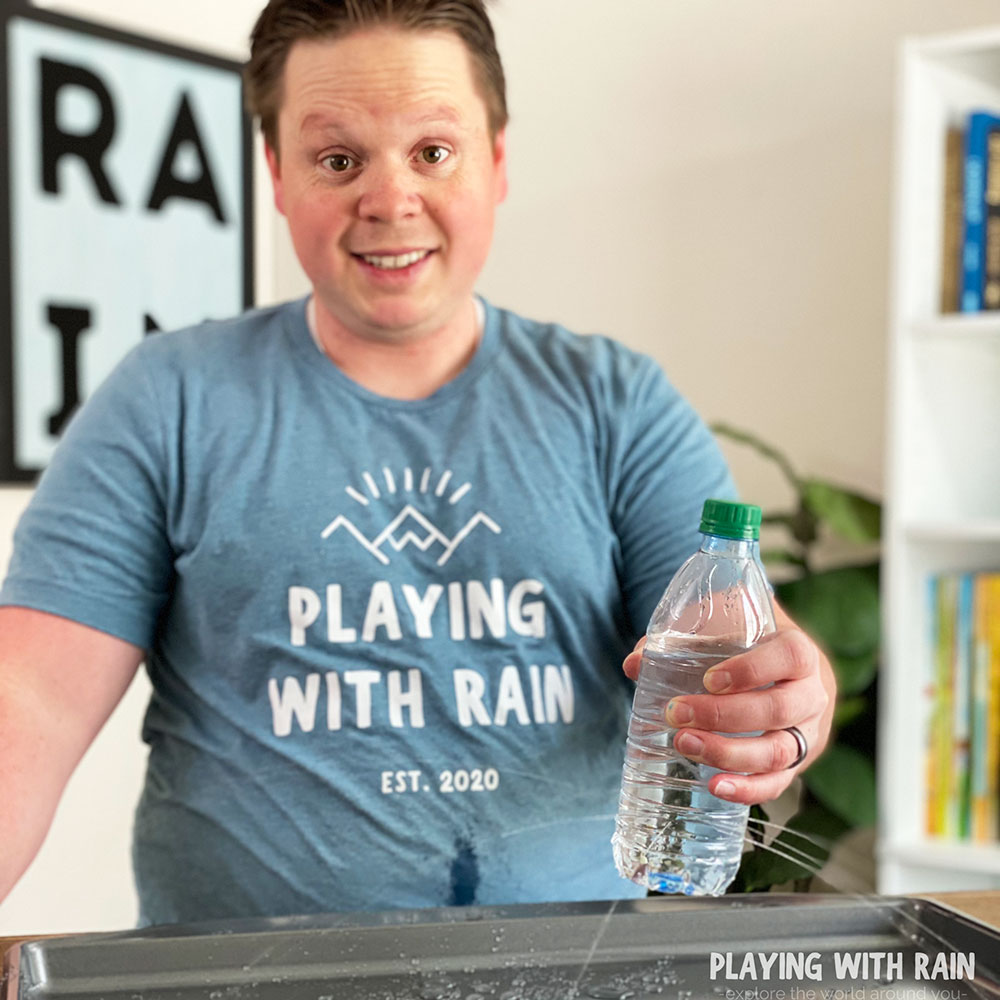
Amaze your kids with this simple experiment when holes are poked into a bottle full of water and the water doesn’t leak out!
Table of Contents
This post may contain affiliate links. As an Amazon Associate, I earn from qualifying purchases.
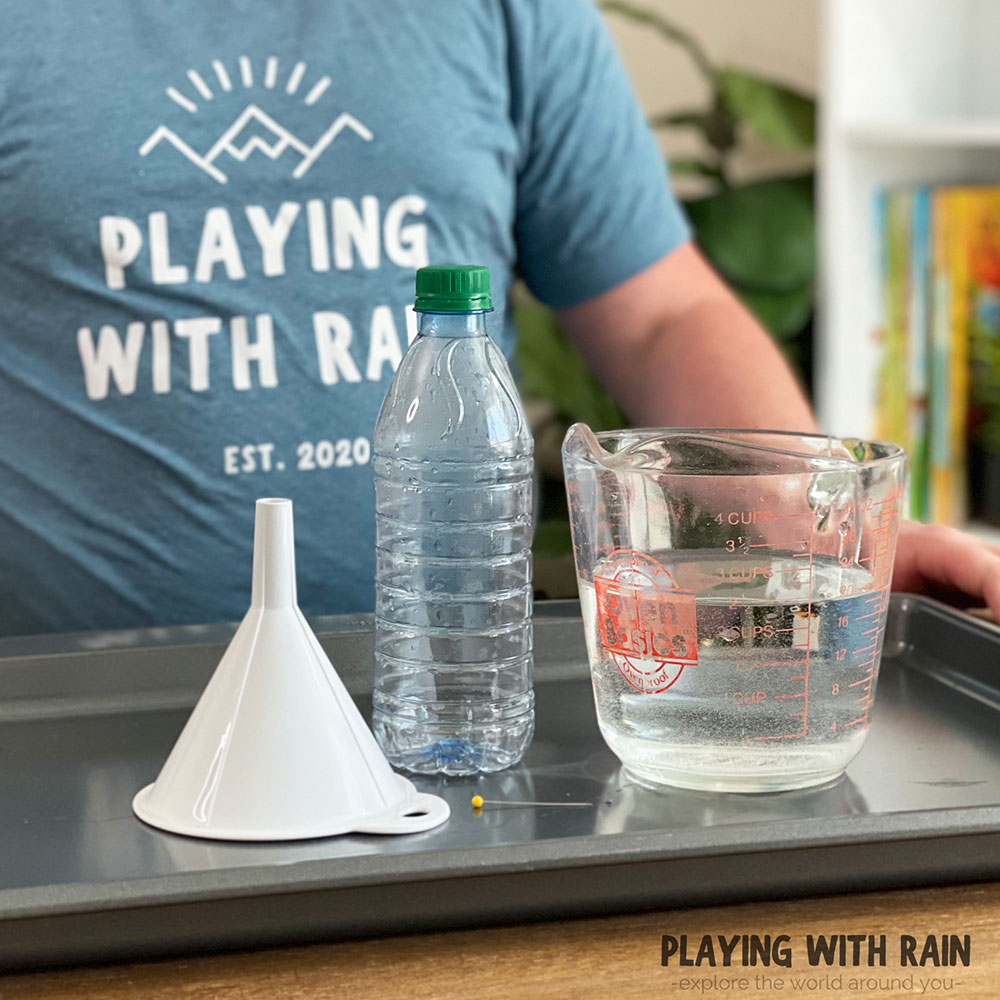
Supplies Needed:
- Water bottle with lid
- Food Coloring (optional)
- Pin or Needle
- Large Pan or Bowl
How to Make an Air Pressure Water Dispenser
- Fill a plastic bottle with water and screw the cap on.
- Carefully poke about 5 holes around the bottle about an inch or two from the bottom.
- Set the bottle down and observe that the water is not leaking even though there are holes in the bottle.
- Unscrew the cap from the bottle and watch the water begin shooting out of the holes.
Step 1: Fill a Plastic Bottle With Water
Most types of plastic bottles will work for this experiment, as long as they have a cap or lid that you can screw on tightly. I like to use a standard water bottle, but you can also use a larger 2-liter bottle as well.
You can use a sealed water bottle if you want, or you can fill an empty bottle all the way up with water.
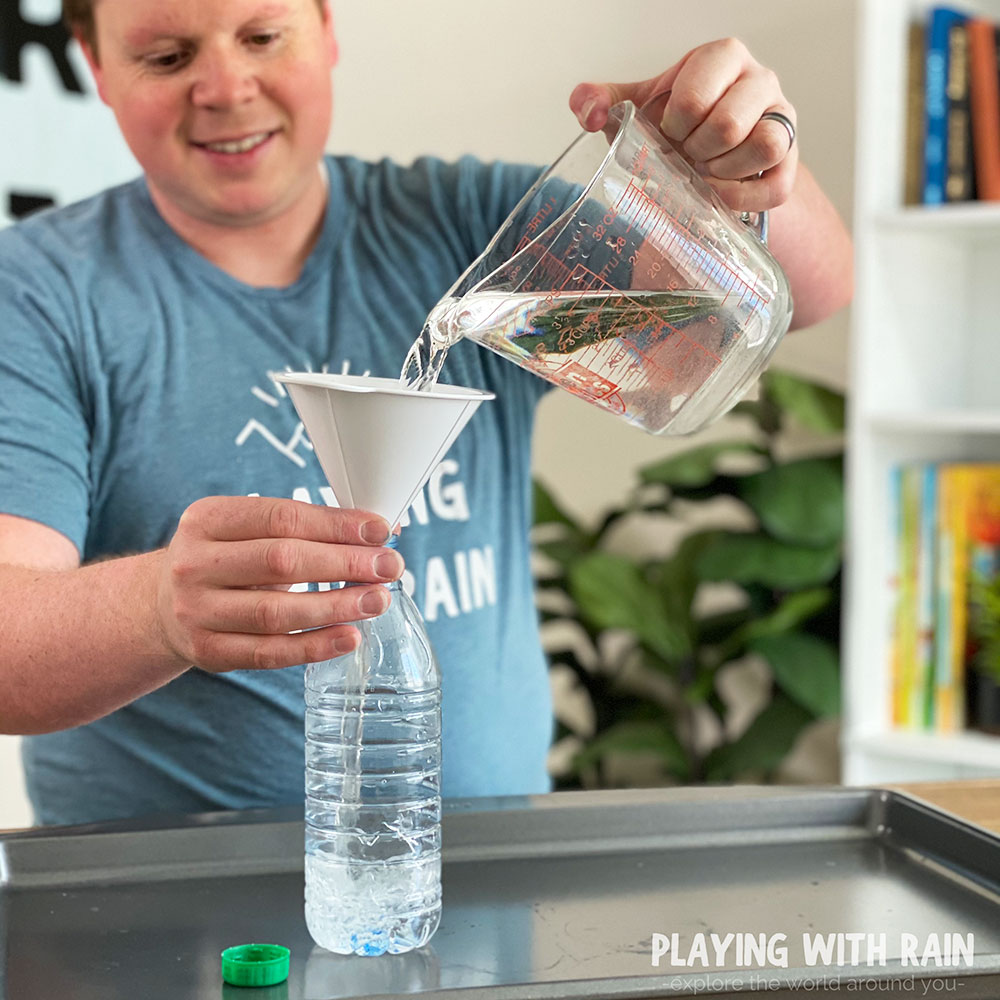
You can add food coloring to make the water more visual, but be warned that water will spray out of the bottle later and the mess will be easier to clean up if you don’t use food coloring.
Once the bottle is full of water, make sure the cap is on tight so that it makes a good seal.
Step 2: Poke Some Holes in The Bottle
It might sound crazy to poke holes in a bottle that is full of water, but believe it or not you won’t get very wet…at least not yet that is!
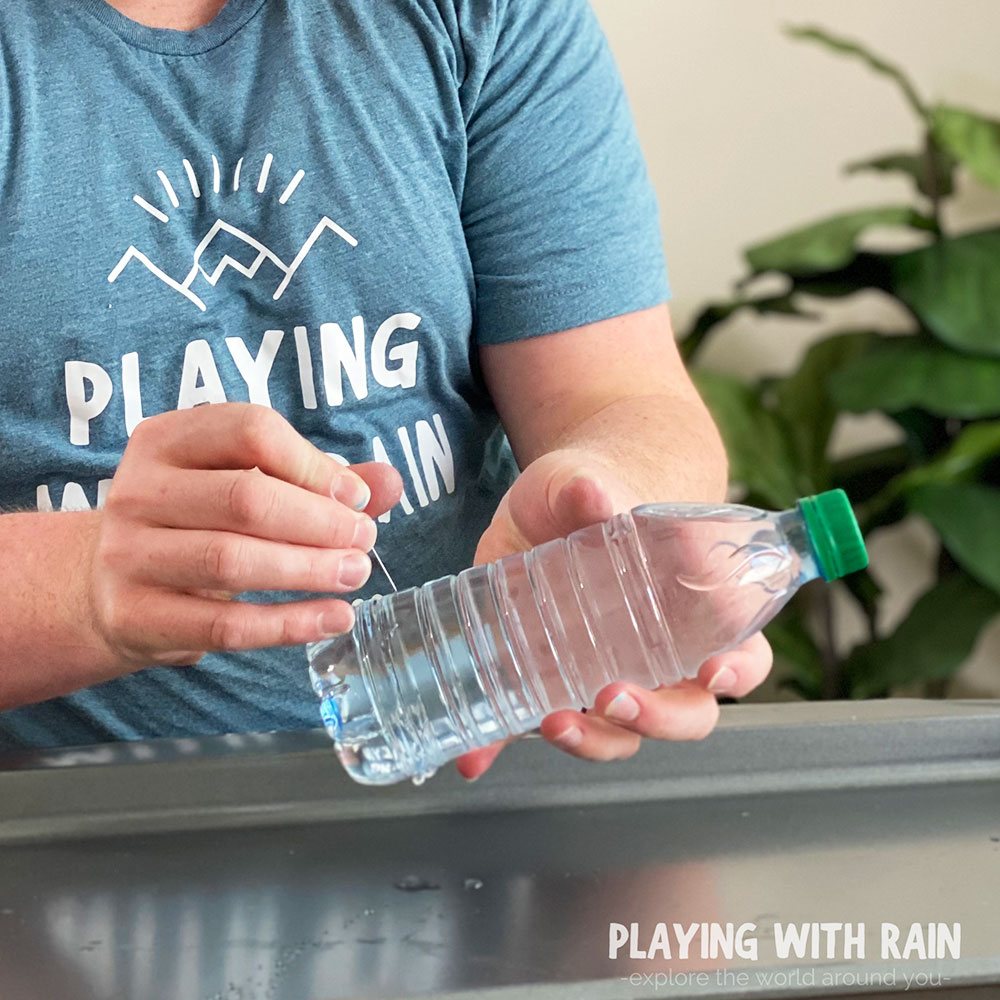
Under adult supervision, use a very small thumbtack, pin, or needle to poke about 5 holes equally spaced around the outside diameter of the bottle. The best place for these holes is about an inch from the bottom of the bottle.
Don’t be alarmed if a little bit of water does leak out when you are puncturing the holes in the bottle. This is expected, but as long as you leave the cap on the bottle and don’t squeeze it, then you won’t get sprayed yet!
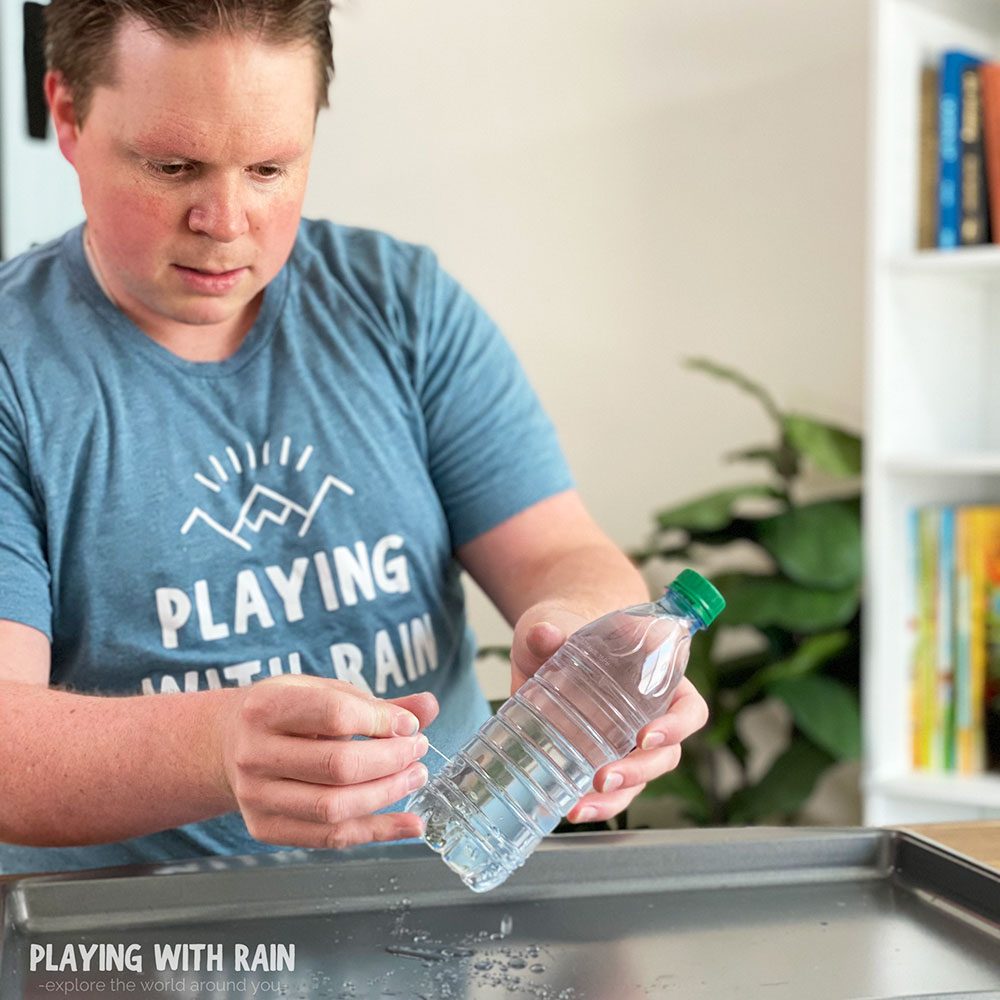
Step 3: Set the Bottle Down On the Counter or a Baking Pan
Remember that part that I mentioned this can either be used as an educational experiment for your children, or an awesome prank on your friends!?
Well this is the part where you need to decide what you want the final result of the experiment to be!
Check Price Check Price Check Price Check Price
Depending on your intentions in doing this water bottle with holes experiment, will determine where to place the bottle.
If you plan to use this as an educational tool, then you might want to place the bottle in a large bowl or on a baking pan. This will help collect the mess when water comes out of the bottle.
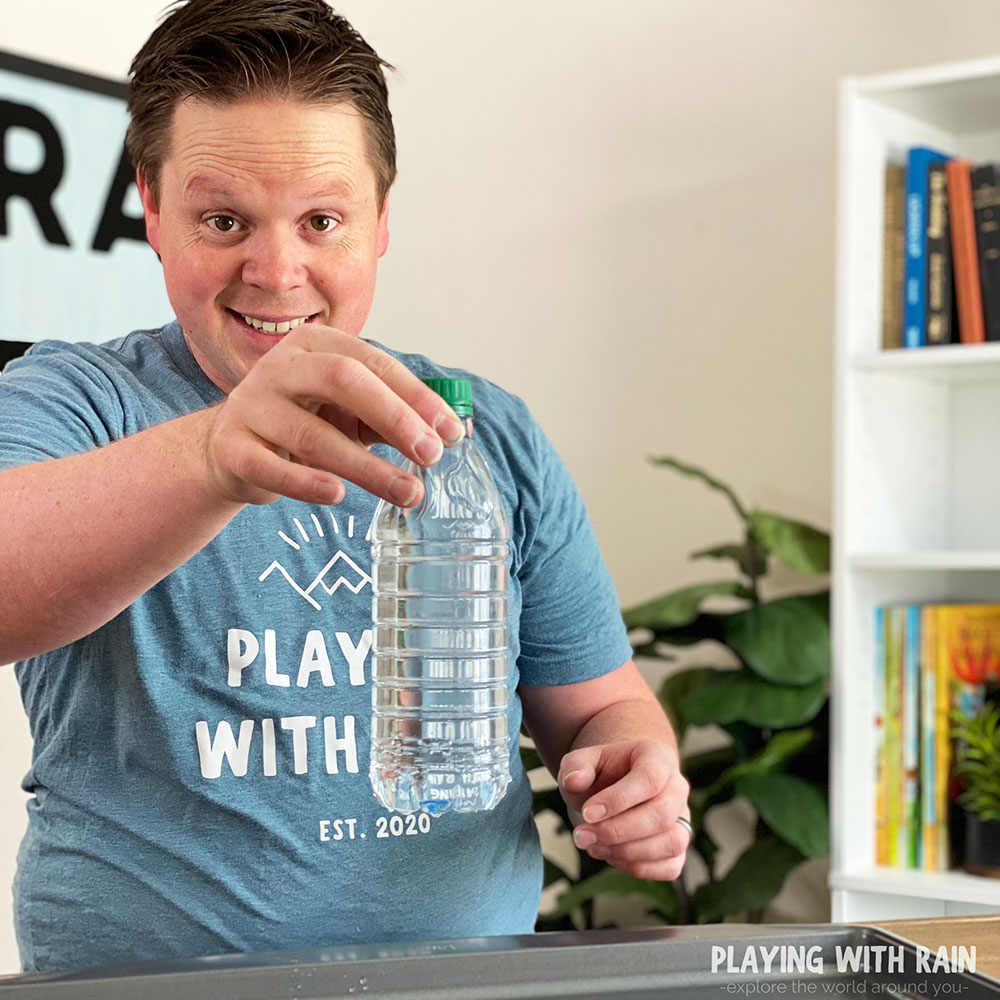
If you want your bottle to make a mess on one of your friends as a prank, then strategically place the bottle on the counter or even in the fridge.
This will set the stage for an unsuspecting person to find the bottle, grab it for a drink, and get a nice surprise of water spraying at them!
Step 4: Unscrew the Lid, or Squeeze the Bottle to See What Happens
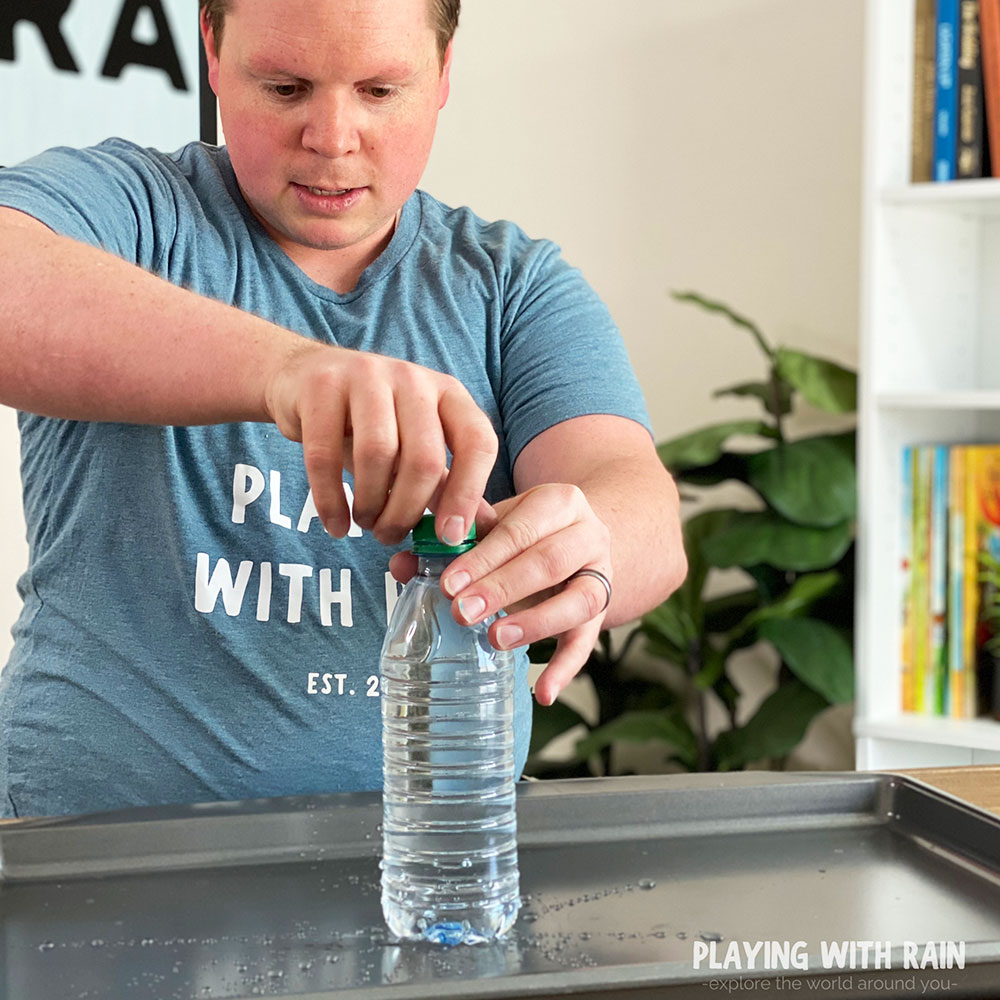
Now it’s time for the fun to begin! Watch in amazement as your bottle with holes magically holds water inside without leaking…even though there are holes in the bottle!
Then carefully unscrew the cap and see what happens! You should see water starting to spray out of the holes in the bottle as soon as the cap is loosened a little bit.
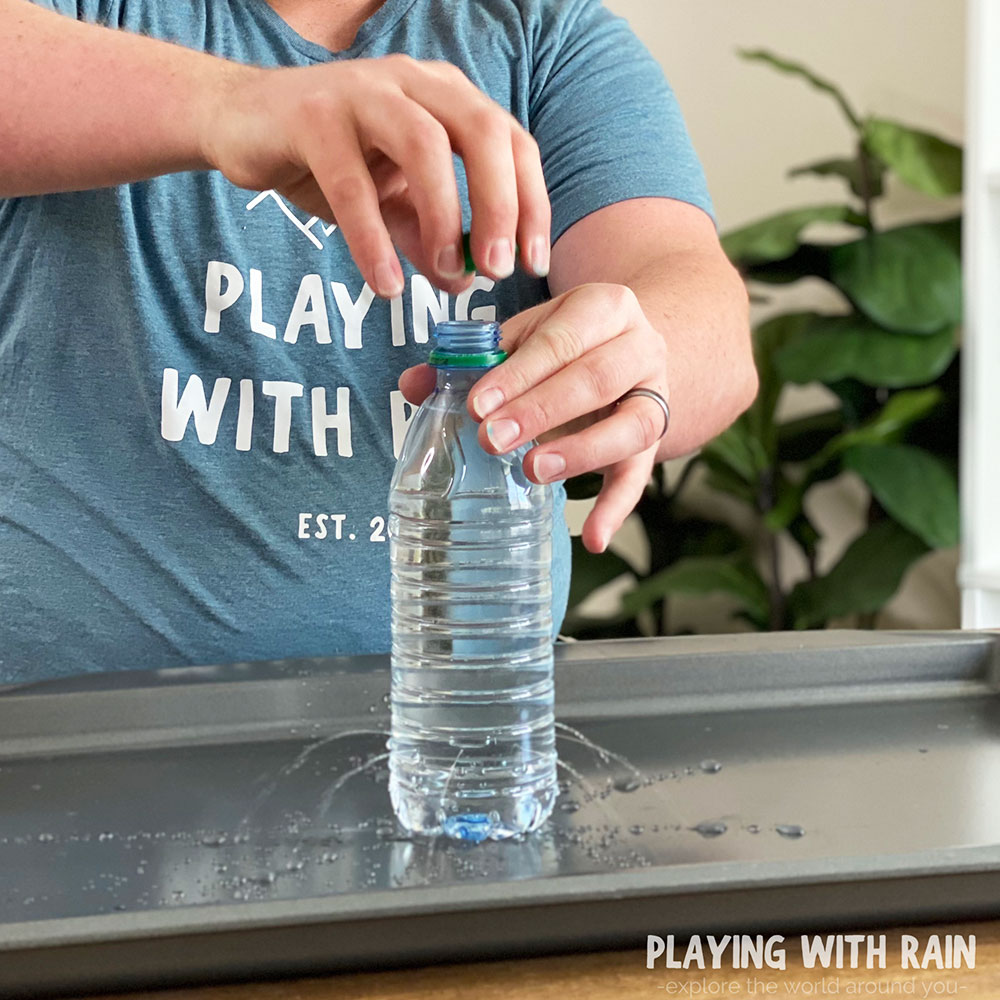
You can also leave the cap on the bottle, but pick the bottle up and squeeze it for the same result. Water will start spraying out of the holes when the bottle is squeezed or when the lid is removed.
This is again what makes this a great experiment, but also a fun prank!
The bottle looks harmless and refreshing when sitting on the counter, but as soon as an unlucky person comes along and grabs (squeezes) the bottle it will spray all over them!
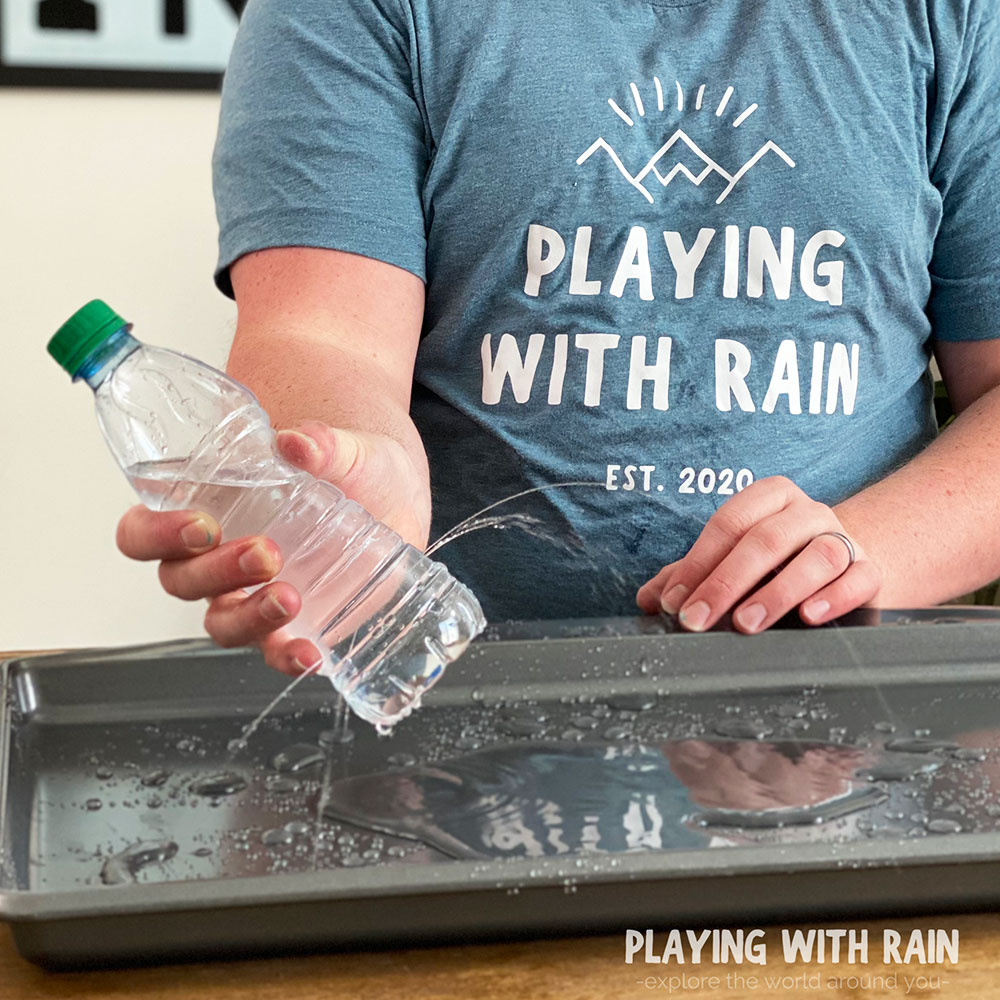
Water Pressure Experiment Explanation
Most of us would think that a water bottle with holes in it would leak water out of it, but that’s only the case if air can get into the bottle to replace the water.
In the case of this water bottle with holes experiment, air pressure and the surface tension of the water work together to keep the water in the bottle despite the holes in the bottle.
Surface Tension:
Believe it or not, the surface tension of water molecules actually allows water molecules to bond together enough to help keep the water from leaking out of the holes in the bottle.
With the help of the surface tension, and the difference of air pressure outside of the bottle and inside the bottle is why the water does not leak out of the bottle.
Air Pressure:
The air pressure is lower inside the bottle than the air pressure outside the bottle. Air always moves from high pressure towards low pressure, so the air outside the bottle is actually trying to get inside the bottle.
The holes in the bottle are too small to let the air sneak inside the bottle, so instead the outside air pressure pushes on the bottle and the water and actually keeps the water inside the bottle!
Check out this Rising Water Experiment for another cool example of how air pressure works to make water do unexpected things!
Once the cap of the bottle is removed, then the air is given a path to get into the bottle and will act with gravity to push the water out of the holes.
When the bottle is squeezed with the cap still on, the pressure inside the bottle also overcomes the pressure pushing on the outside of the bottle and allows the water to spray out of the holes!
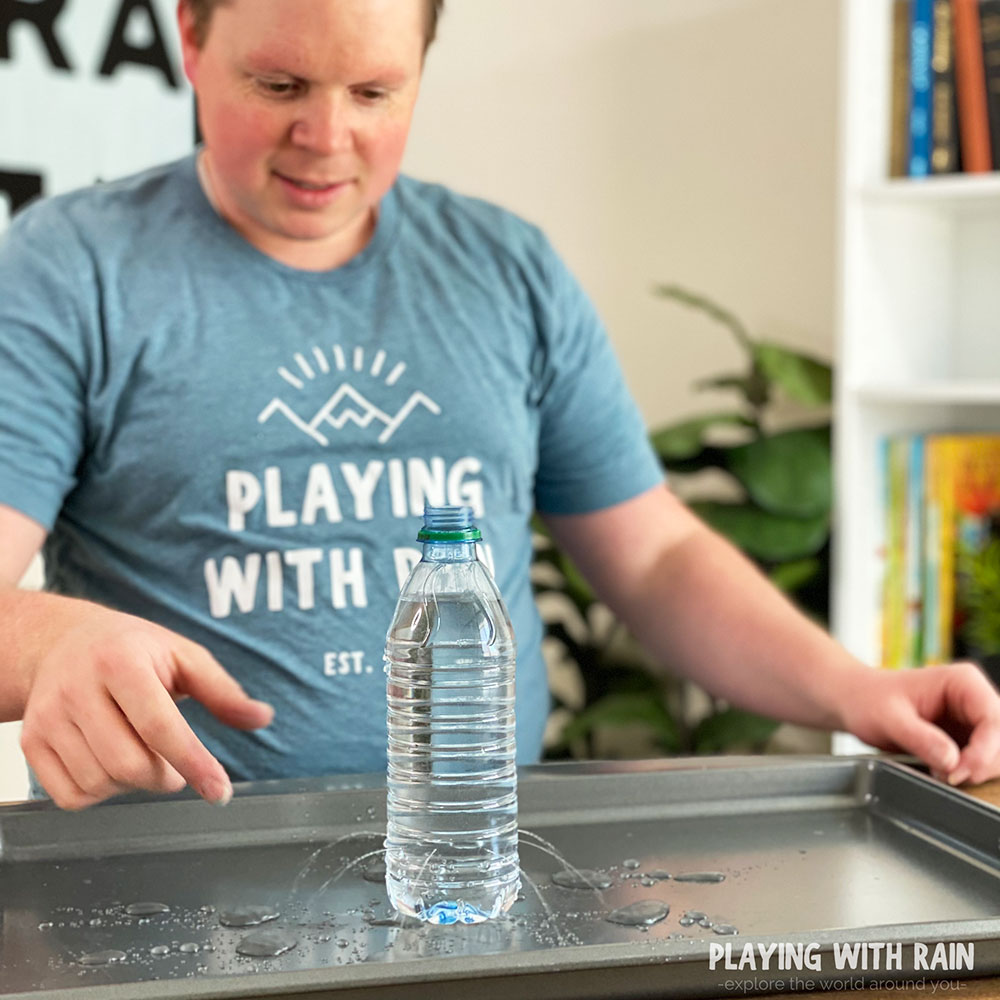
More Easy Science Experiments for Kids:
- Baking Soda and Vinegar Balloon Experiment
- How to Make Instant Snow at Home
- Leak-Proof Bag Experiment
Leave a Reply Cancel reply
Your email address will not be published. Required fields are marked *
Save my name, email, and website in this browser for the next time I comment.
MORE ABOUT PLAYING WITH RAIN
LET’S CONNECT
Search for more ideas, create at your own risk.
All content on this blog was created for inspiration and entertainment purposes. Creating anything with the suggested tools, products or methods, is under your own risk!
Danupon Drake
Dan Drake's Online Portfolio
A Water Pressure Experiment
Water pressure experiment.
This experiment is good to demonstrate water pressure.
Things you’ll need: a water bottle with water, modeling clay, two straws, and scissors.

- Use the scissors to cut one straw to be shorter than the other.

Water pressure is a measure of the force that gets the water through our mains and into your pipes. It is measured in ‘bars’ – one bar is the force needed to raise water to a height of 10 meters. 0.1 bar equivalent to approximately 1.45 pa of pressure. With low-pressure water systems, you’ll want to measure your water pressure precisely to find a tap or shower that will give you optimum flow.

Please Like and Share:
What's your opinion.

- Already have a WordPress.com account? Log in now.
- Subscribe Subscribed
- Copy shortlink
- Report this content
- View post in Reader
- Manage subscriptions
- Collapse this bar

IMAGES
VIDEO
COMMENTS
Kids will love learning about how water pressure changes with depth in this Water Pressure With Water Bottle Experiment. This can even be used to explain the force that water pressure has on deep-sea divers and scuba divers too!
Observing the Effect of Water Pressure. #pressure #properties #ngscience Observe how water pressure affects a stream of water as it leaves a plastic bottle. At greater amounts of...
Here is the easy one to explore or demonstrate pressure: 1) Take a plastic water bottle and fill it with water to its half way. 2) Place a straw into its neck part and seal the leaky edges using putty or clay. 3) Blow heavily into the straw which creates increased air pressure inside the bottle.
One great way to actually SEE how hydrostatic pressure works is through the 3 hole water bottle demo. In this experiment, we have three holes bored into a water bottle from top to bottom....
Find out how to make a bottle rocket and learn about air pressure and Newton's Third Law as you launch the water bottle rocket into the air.
We are going to perform a very simple ‘Drip Drop Water Bottle Pressure Experiment’, which helps us to make the ‘Magic Water Bottle’. This science activity helps us to experience the magical properties of air pressure and force.
Try this simple experiment at home or school to learn about water pressure. For more STEM experiments and activities visit the Explorers website https://cana...
How to Make an Air Pressure Water Dispenser. Fill a plastic bottle with water and screw the cap on. Carefully poke about 5 holes around the bottle about an inch or two from the bottom. Set the bottle down and observe that the water is not leaking even though there are holes in the bottle.
This experiment is good to demonstrate water pressure. Things you’ll need: a water bottle with water, modeling clay, two straws, and scissors. Use the scissors to cut one straw to be shorter than the other.
Key Objectives. Designing and conducting the experiment for a pressure test of containers in different shapes. Explaining the shape characteristics of containers that can resist the highest pressure and of those that cannot resist the highest pressure. Materials. per group: